Installation
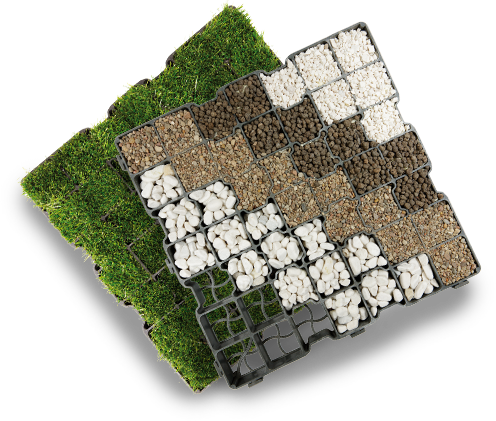
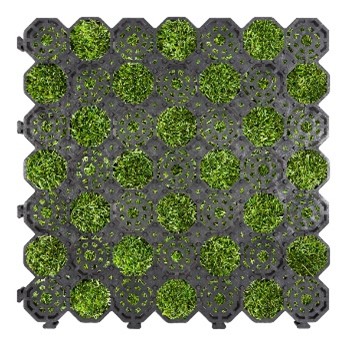
The geoSYSTEM F40 grid is dedicated to strengthening the grassy surfaces of temporary parking spaces, recreational squares, and the lawn in the garden.
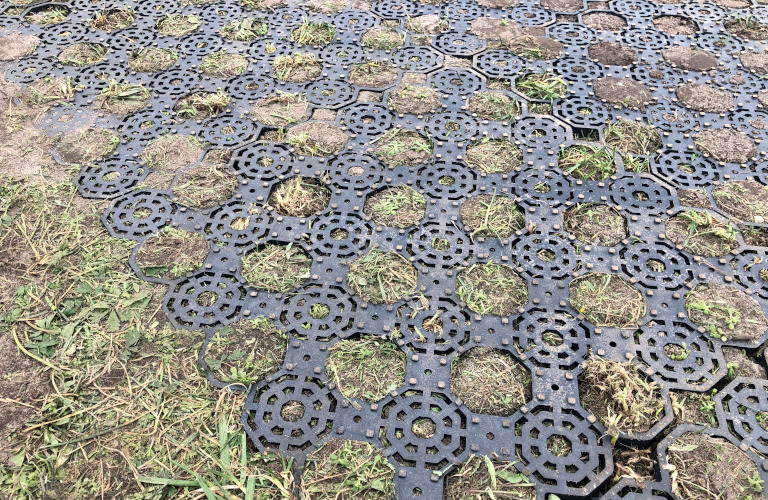


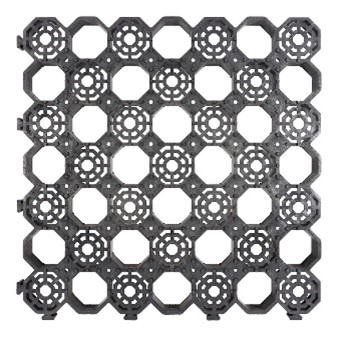
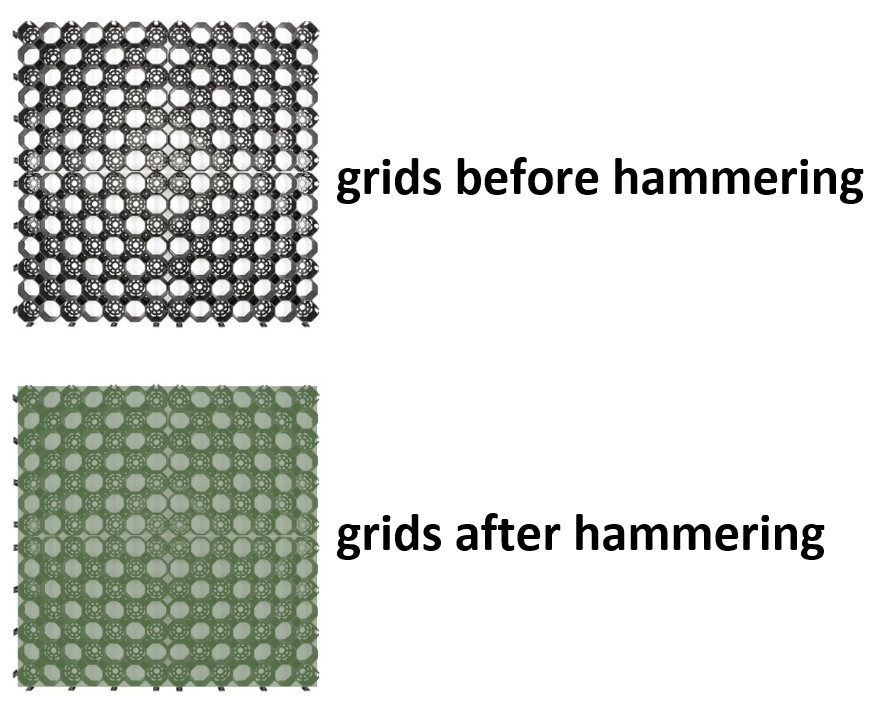
The geoSYSTEM F40 grids, thanks to the honeycomb structure, has a strength of 350 tons / sqm. Its advantage is the possibility of installation in two ways: classic or built-up side up, pressing into the existing lawn with a road roller. During assembly, it is important which side of the grille is to be installed.
GENERAL RECOMMENDATIONS FOR INSTALLATION
The method of installing the grating should be adapted to the existing ground conditions and the purpose of the pavement.
In the case of impermeable, too soft, clayey soils, it is necessary to break the turf, make a water-permeable breakstone foundation, fill the arranged grate with good quality soil and sow the grass. The height of the foundation must be adapted to the local soil conditions.
In many cases, it is possible to install the grating by pressing it directly into the turf. Installation in this form should be carried out in early spring or late summer, as the grass must regenerate before winter. The gratings should not be installed in hot weather due to the difficult conditions for grass.
Before starting the works, determine the load-bearing capacity of the pavement and determine whether the given method of installation will improve the load-bearing capacity of the soil or whether the foundation should be made.
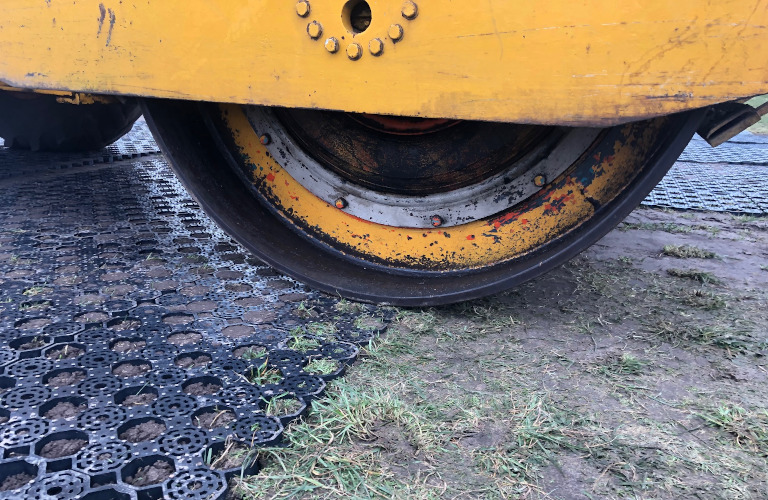
ASSEMBLY BY DRIVING WITH A ROAD ROLLER
- Before the grid is driven in, the lawn can be scarified to a depth of 4-6 cm, which will facilitate the assembly of the grid and regenerate it. We work with the scarifier in late spring (daytime temperature above + 10°C) or early fall. Before the treatment, the soil should be watered and the lawn (when everything is dry) mowed.
- The grass should be cut to the minimum height. Do not leave grass clippings in the area reinforced with a grate.
- The unevenness of the terrain should be eliminated by covering it with humus or a mixture of sand and earth (in the proportion of 20:80).
- Avoid installation in dry or very wet, muddy conditions, however the substrate should be soft to facilitate the insertion of the grating.
- If the pavement is too dry on the day of installation, the hard surface should be watered with plenty of water.
STEP-BY-STEP ASSEMBLY
1. Define the area where the grating is to be installed by spreading the leveling string along its two sides
- If the grate is installed at fixed elements such as asphalt pavement, concrete curb, lantern, drain – keep a distance of at least 3 cm. Expansion is necessary due to the properties of the material, which expands in summer and shrinks in winter.
- Grids can be trimmed with an angle grinder or pruner.
2. We start arranging the grids from the corner. The catches of the first grid mark the direction of placing the next ones. The line of grids must be in line with the line of the leveling string.
- If we are reinforcing parking spaces by a paved road, the gratings should be placed parallel to the road, with 5 cm expansion.
3. Put a row of grids on the grass, 3 meters wide and 5 meters long.
4. A road roller should be used for driving the gratings – preferably a tandem roller with a weight of 6-10 tons
5. Start rolling perpendicular to the row of grates – drive forward 2 meters, retreat and repeat the action.
- The line of connecting the gratings must not be flush with the line of the drum.
- The drum of the roller must always run straight in front of the line of the grates – when entering at an angle it may damage the grating.
6. Then move the roller to the next width and repeat the operation.
7. After hammering two rows across the entire width, add another 2 lanes and repeat the operation, always leaving the last row not stamped.
8. In front of the roller, no more than 3 rows of gratings (approx. 3 rm) should be placed, otherwise the gratings may undulate during rolling, which makes further assembly difficult.
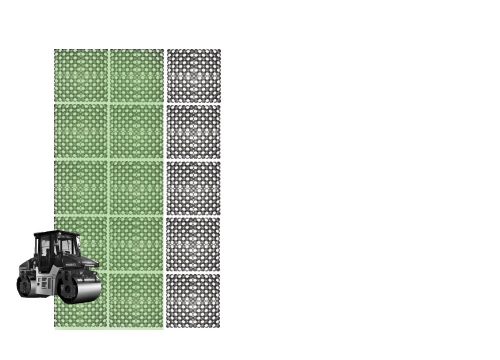
Make a strip 3 m wide by 5 m long.
Drive down the first two rows with a road roller.
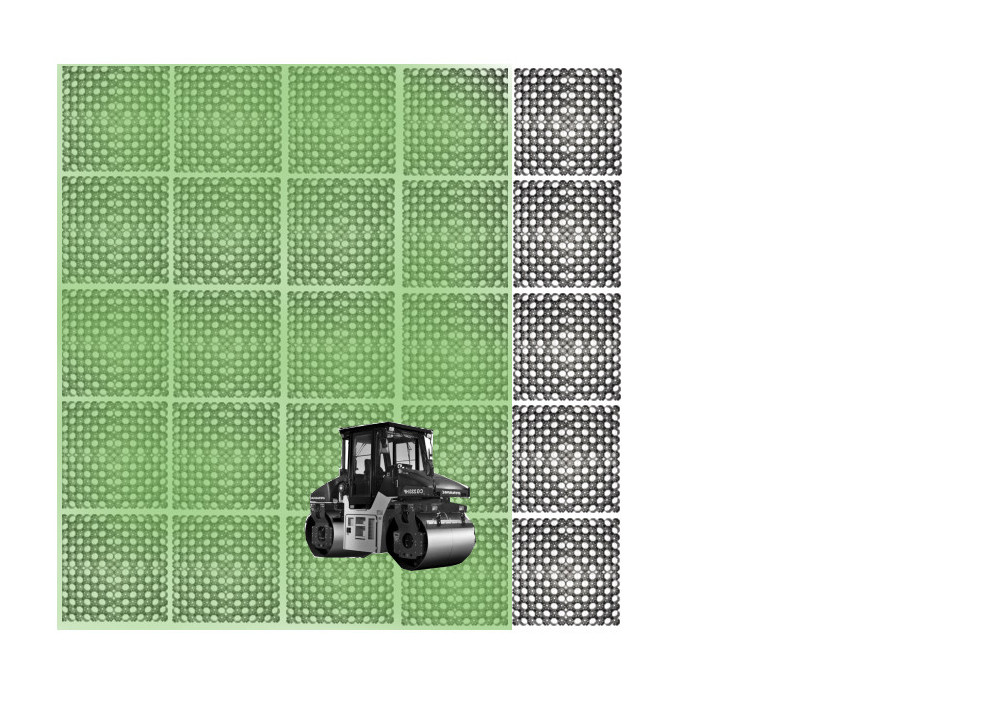
Add another two lanes, roll with a roller, do not roll the last row.
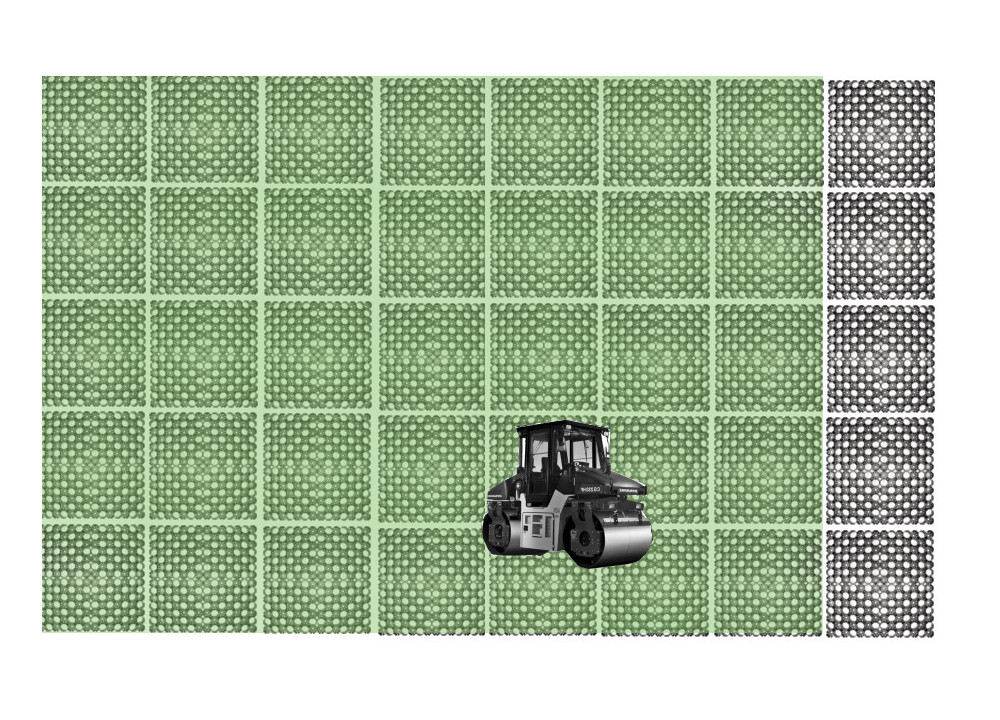
Continue assembling the grids by adding more rows and rolling them.
USAGE TIPS
- In order to ensure the proper load-bearing capacity of the surface, the grate must be completely driven into the ground. Unevenly compacted terrain can lead to the formation of ruts and puddles.
- During the first few weeks after installing the grating, you should regularly check that the surface remains even and fully seated in the surface, especially in places with little grass, after frost or very high temperatures.
- If the grates have come out up, they can be compacted again with a roller. Over time, as the grass grows over the gratings, the pavement will bond to the ground, which should prevent further movement and provide better stability and load-bearing capacity.
- It is recommended that the surface be compacted with a roller once a year, preferably after the winter period.
- Grassy surfaces with geoSYSTEM should be mowed regularly. If the grass debris is not collected, a layer of soil and plant matter may gradually build up on the surface of the grates over time.
- To maintain an even surface, excess debris should be removed by hand scraping with a spade or from larger areas mechanically using agricultural scrapers.
- In the event of sinkholes or holes, the gratings should be dismantled by cutting them out, excavated, the ground should be poured about 10 cm of crushed stone, vibrated, ballasted sand should be scattered and the grate should be placed again – fill it with soil and sow with grass. In extreme cases, additional drainage should be considered.